Creating a virtual machine instance
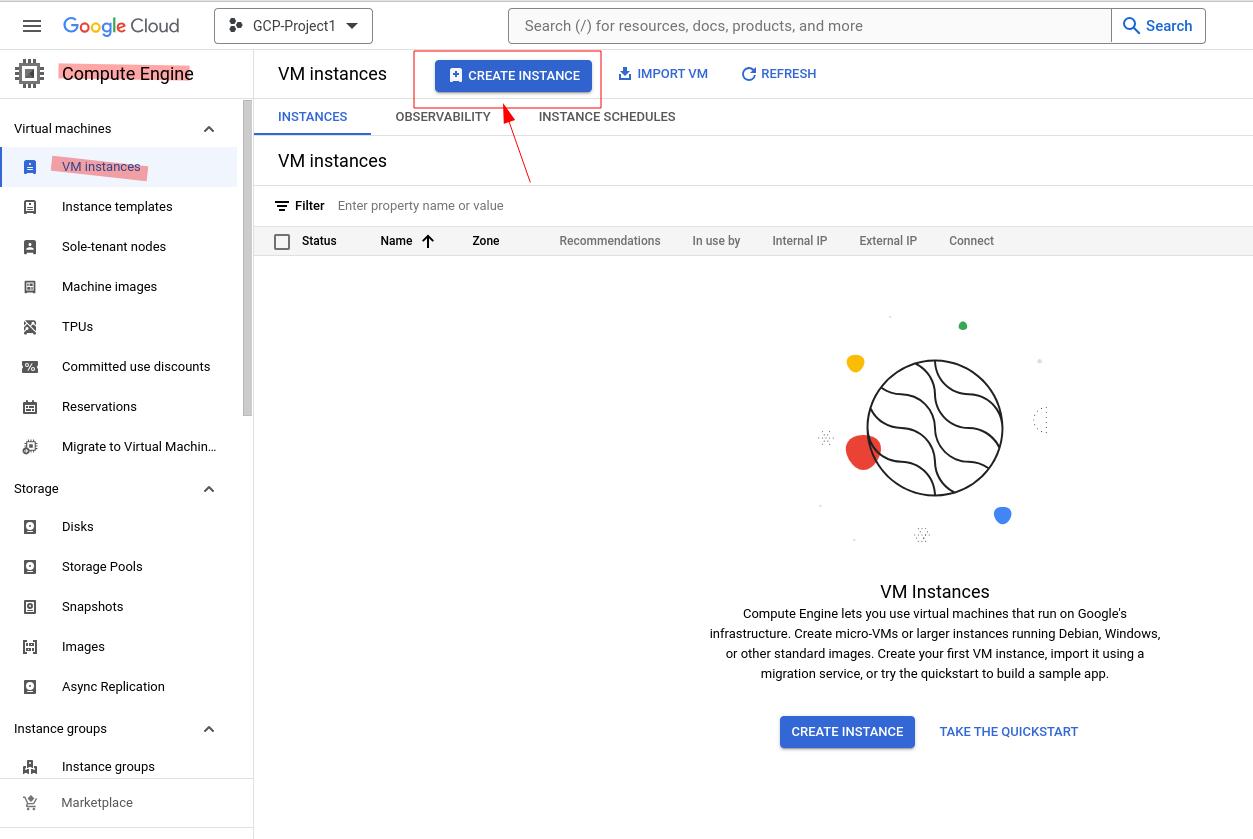
- In the Cloud Console, go to the VM Instances page.
- Click Create instance.
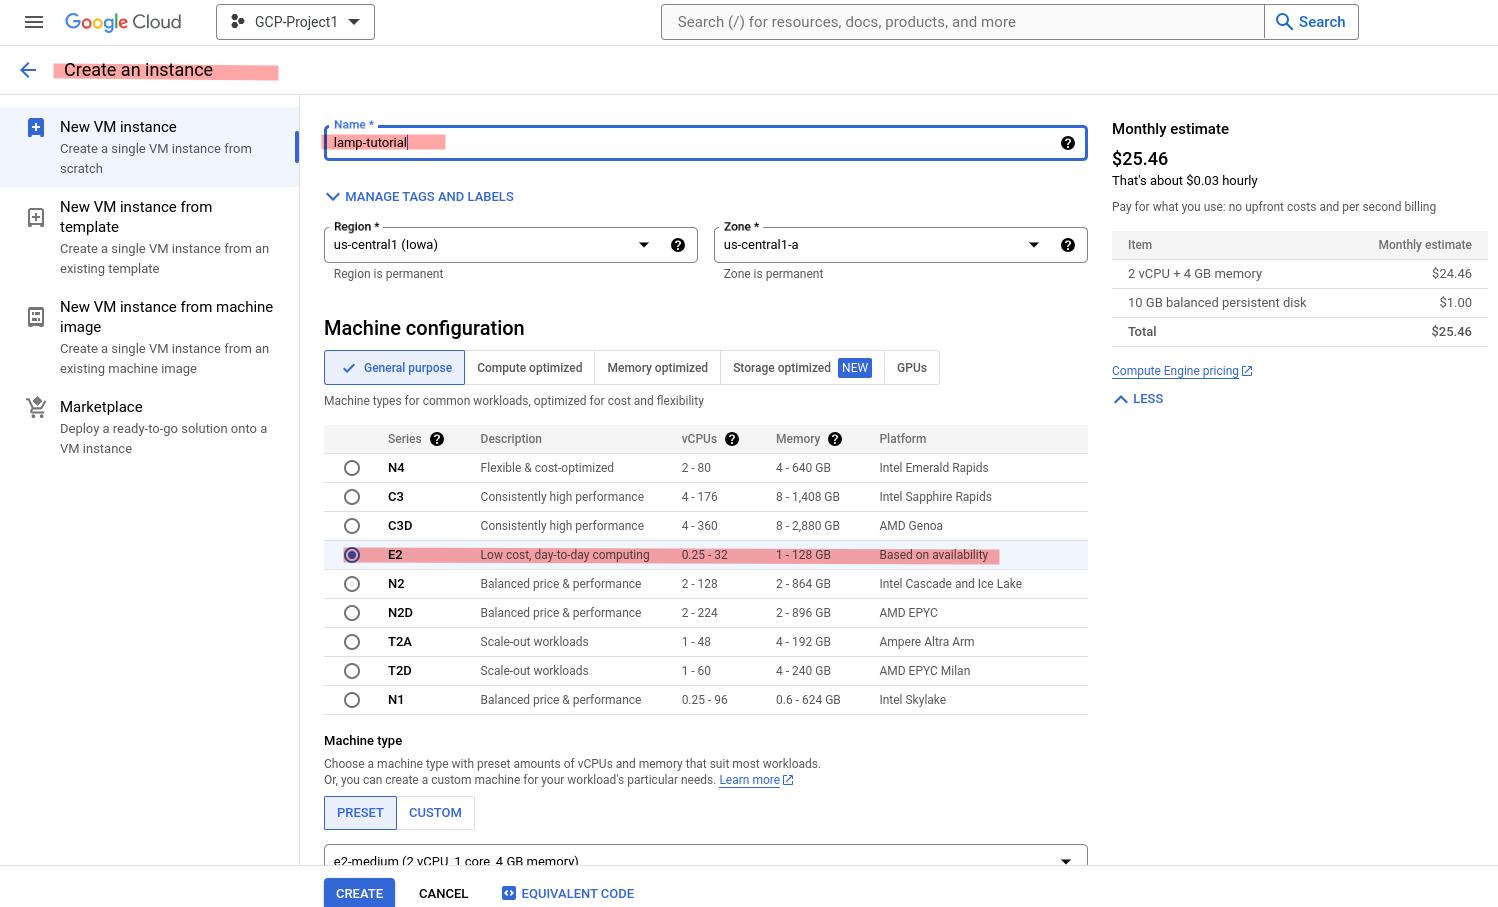
- In the Name field, enter lamp-tutorial.
- In the Machine configuration section, select e2-micro for Machine type.
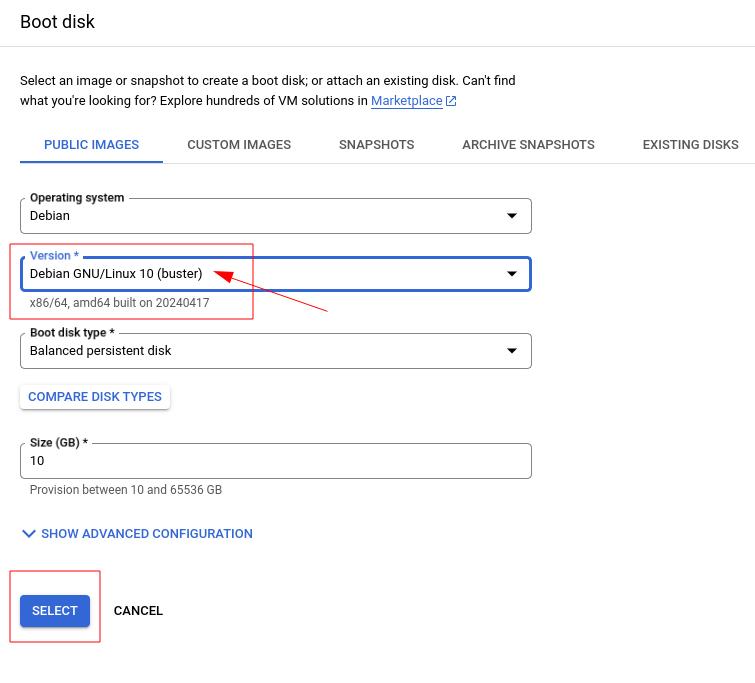
- In the Boot disk section, click Change.
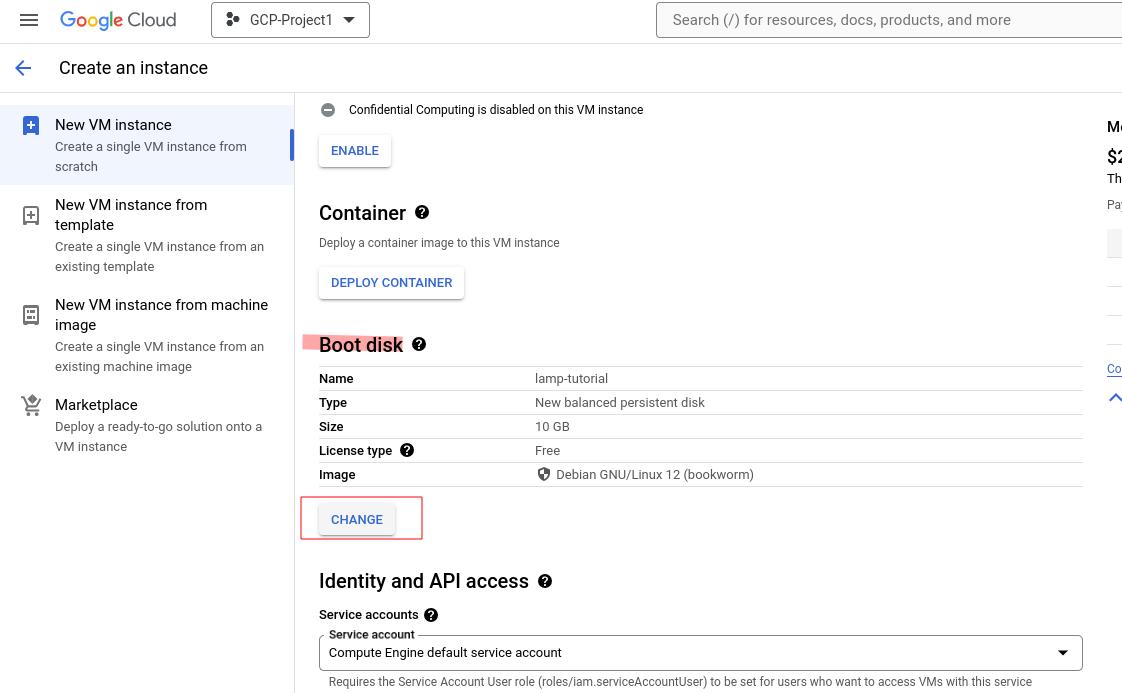
- In the Boot disk window, perform the following steps in the Public images tab:
- In the Operating system menu, ensure that Debian is selected.
- In the Version menu, ensure that Debian GNU/Linux 10 (buster) is selected.
- Click Select.
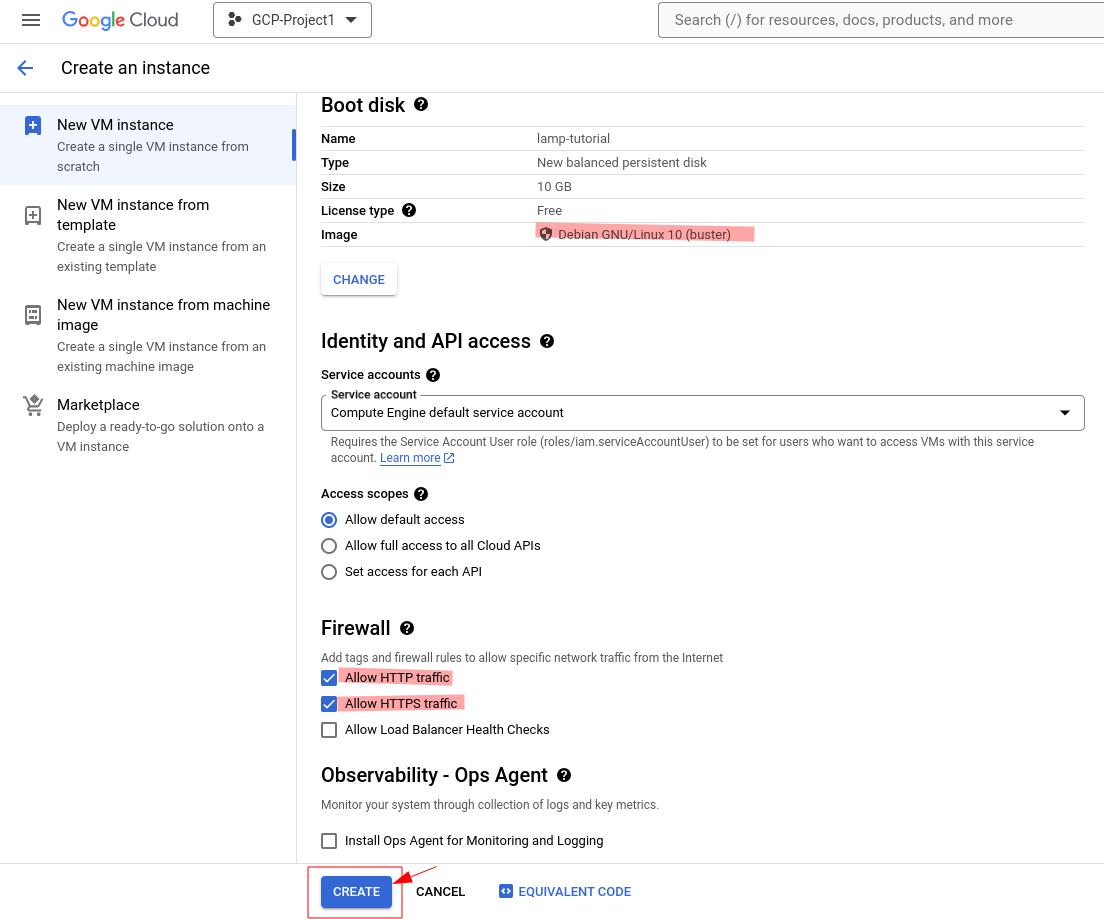
- In the Firewall section, select Allow HTTP traffic and Allow HTTPS traffic.
- Click Create.

If you want to use a different operating system, click the Change button for the Boot disk, and select the operating system and version that you want. Give the instance a few seconds to start up.
Install LAMP stack on Compute Engine
In this section, you configure the LAMP stack.
Connect to your instance
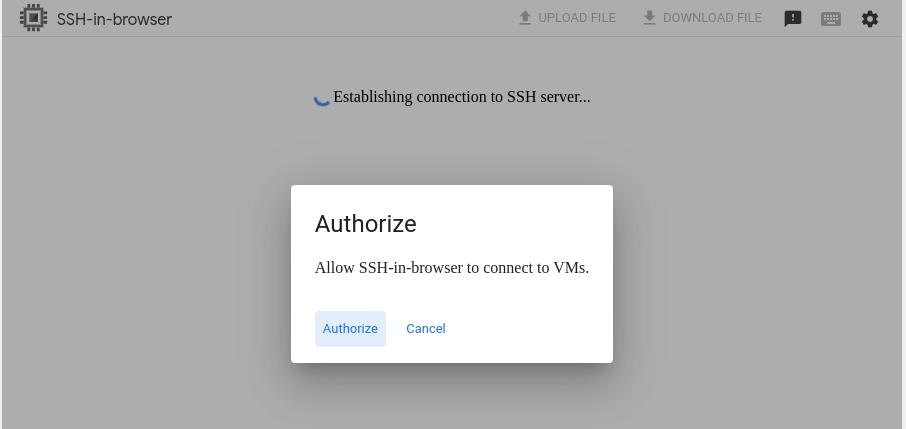
You can connect directly to your instance using SSH from Cloud Console or using the gcloud compute ssh command, which is part of the Cloud SDK. This tutorial demonstrates the steps in the Cloud Console.
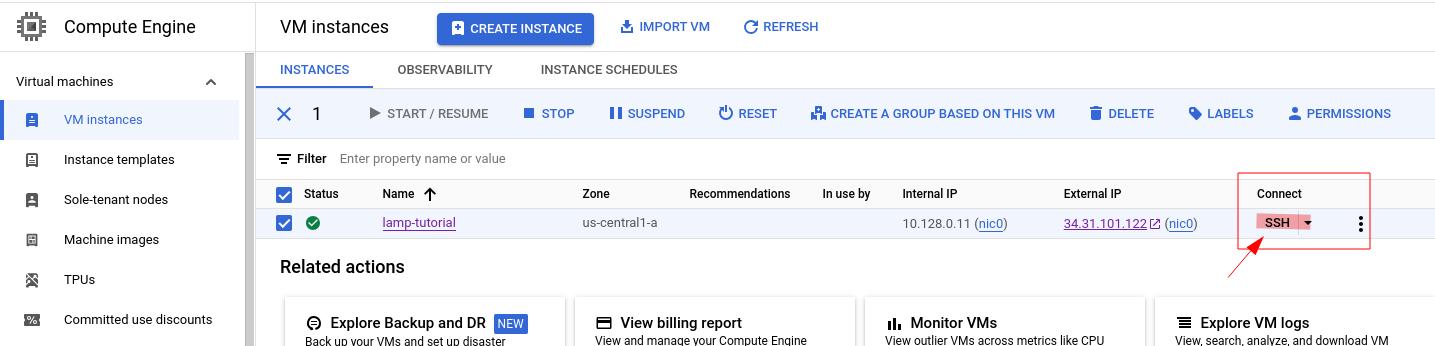
- In the Cloud Console, go to the VM instances page.
- In the list of virtual machine instances, click the SSH button in the row of the instance to which you want to connect.
- Make a note of the IP address of your VM instance. You can see this address in the External IP column.
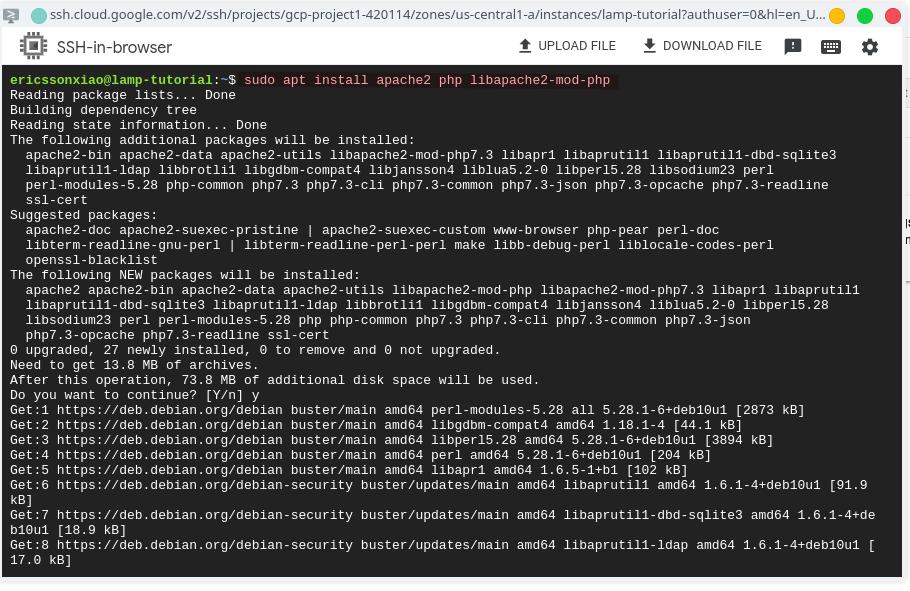
Install Apache and PHP on your instance
By creating an instance, you already have the Linux part of LAMP. In this section, you install Apache and PHP.
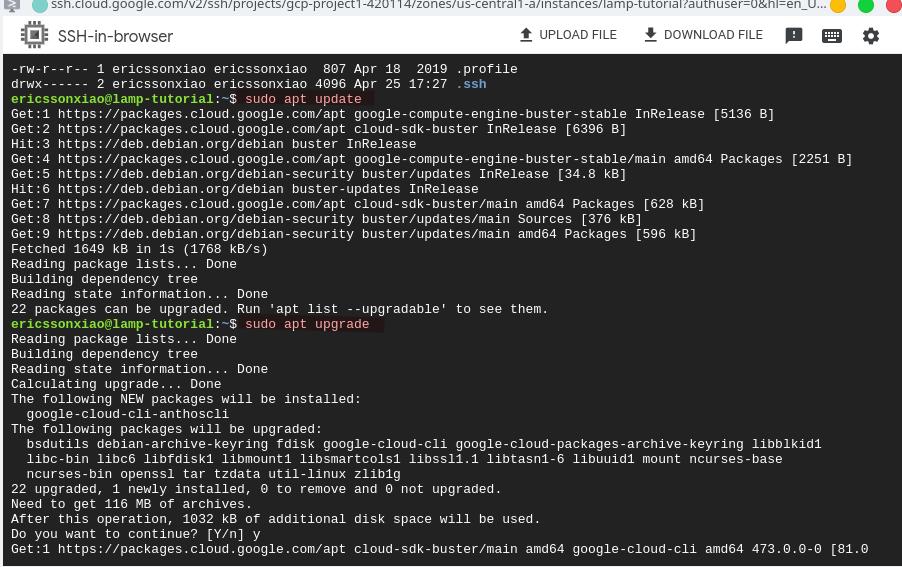
Update and upgrade instance
sudo apt-get update
sudo apt-get install apache2 php libapache2-mod-php
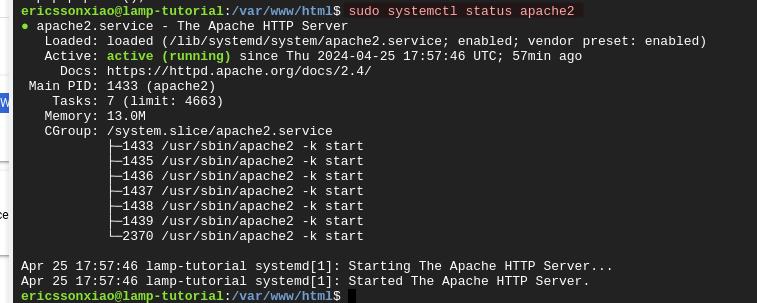
Test Apache and PHP
Using systemctl command to check if the Apache is running well.
sudo systemctl status apache2
Get the external IP address of your instance from the VM instances page in the Cloud Console. In a browser, enter your external IP address to verify that Apache is running:
http://[YOUR_EXTERNAL_IP_ADDRESS]
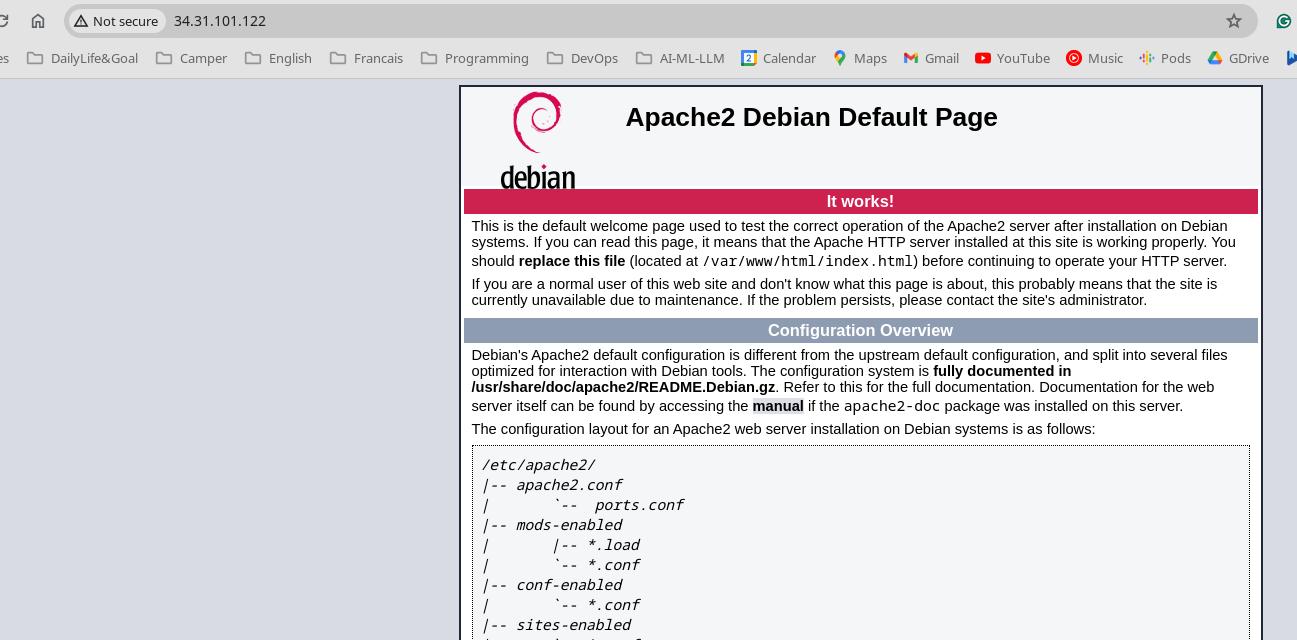
You should see the Apache test page. Make sure that you don’t use the https protocol specifier, because HTTPS is not configured.
To create a test file in the default web server root at /var/www/html/, follow the instructions in the PHP documentation. Example number 2 is the simplest example.
You can write the code to the file from the command line by using a statement like the following:
sudo sh -c 'echo "[YOUR_PHP_CODE]" > /var/www/html/phpinfo.php'
Replace [YOUR_PHP_CODE] with the code that you want to write out.
For example:
sudo sh -c 'echo "<?php phpinfo(); ?>" > /var/www/html/phpinfo.php'
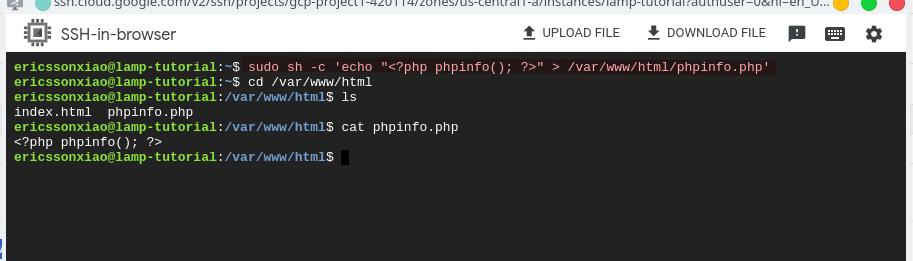
Browse to the test file to verify that Apache and PHP are working together:
http://[YOUR_EXTERNAL_IP_ADDRESS]/phpinfo.php
You should see the standard PHP page that provides information about your current Apache environment. If the page failed to load (HTTP 404), verify the following:
- In the Cloud Console, HTTP traffic is allowed for your instance.
- The URL uses http with the correct IP address and filename.
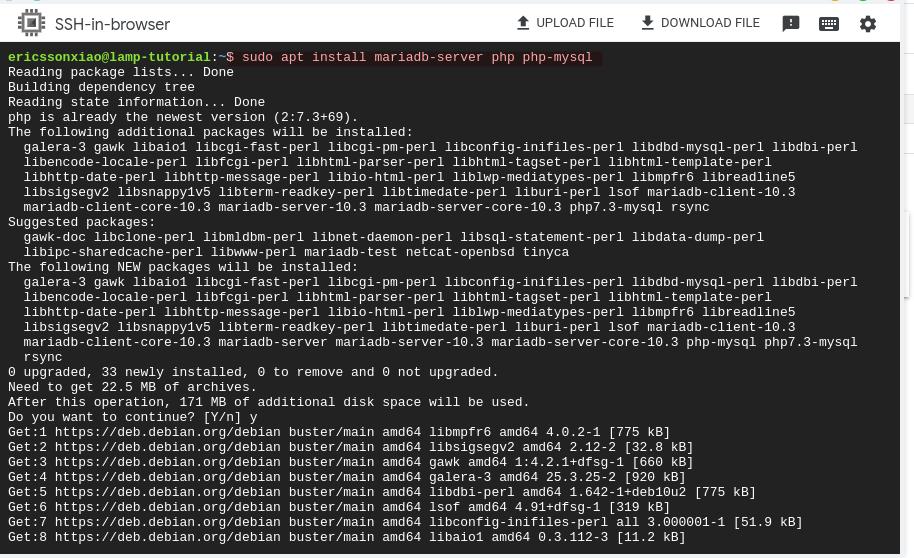
Install MariaDB on your instance
Install MariaDB and related PHP components:
sudo apt-get update
sudo apt-get install mariadb-server php php-mysql
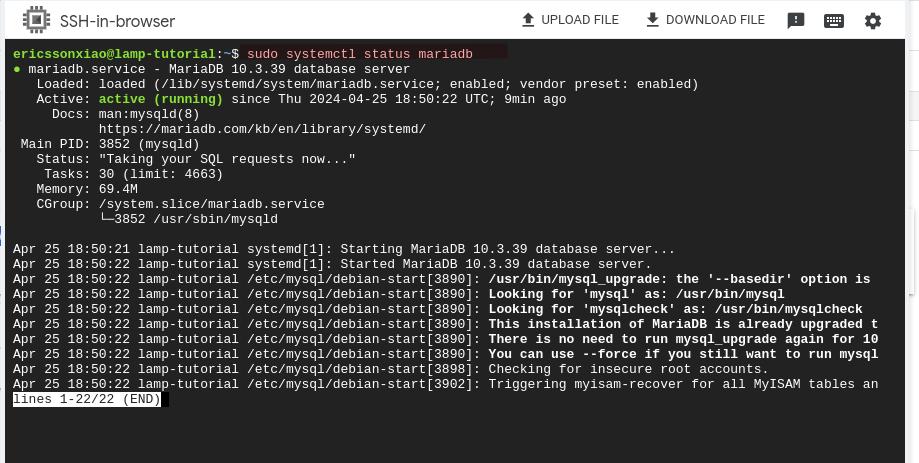
Check MariaDB server statuses
Run the following command to check whether the MariaDB database server is running:
sudo systemctl status mariadb
If the mariadb service is not running, then start the service with the following command:
sudo systemctl start mariadb
You can also use the mysql client connect to the database server:
sudo mysql
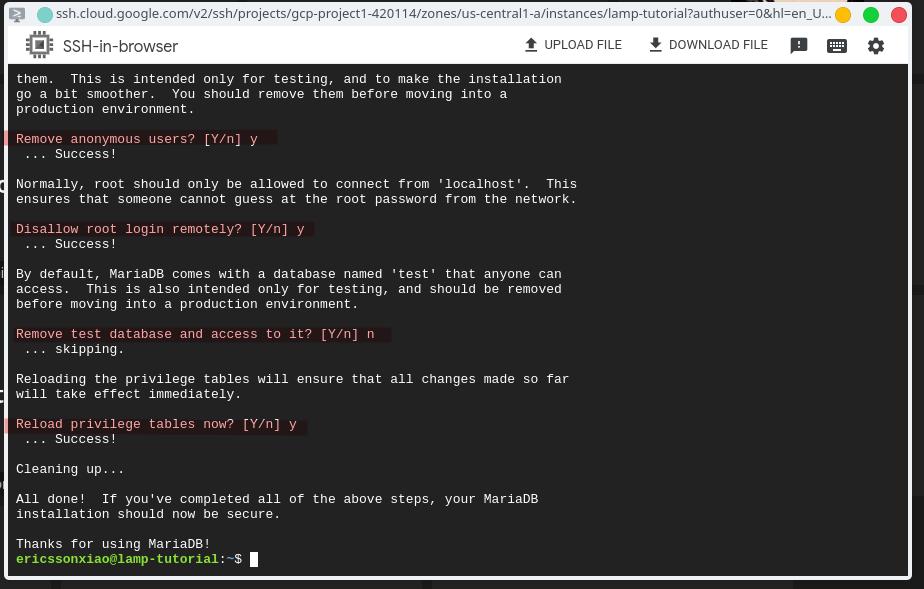
Configure MariaDB
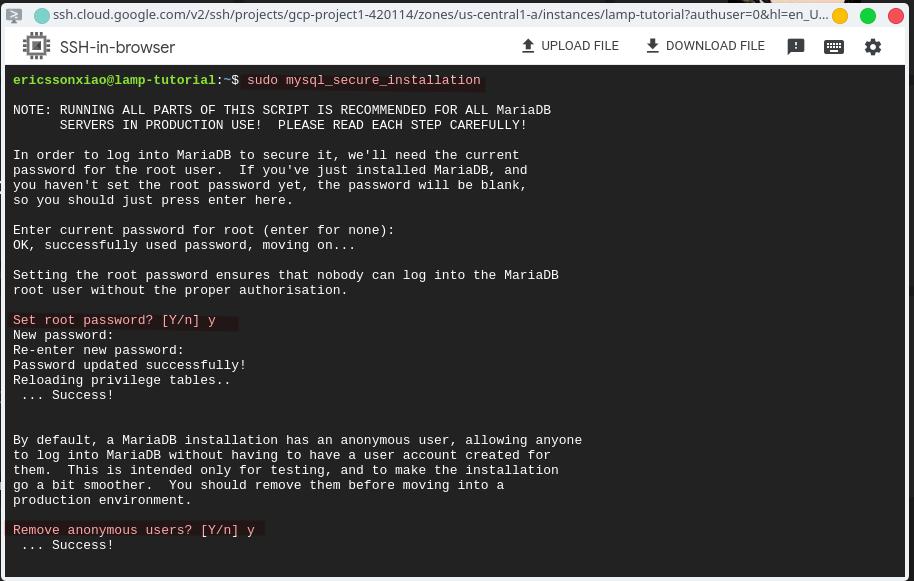
Run the mysql_secure_installation command to improve the security of your installation. This performs steps such as setting the root user password if it is not yet set, removing the anonymous user, restricting root user access to the local machine, and removing the test database.
sudo mysql_secure_installation
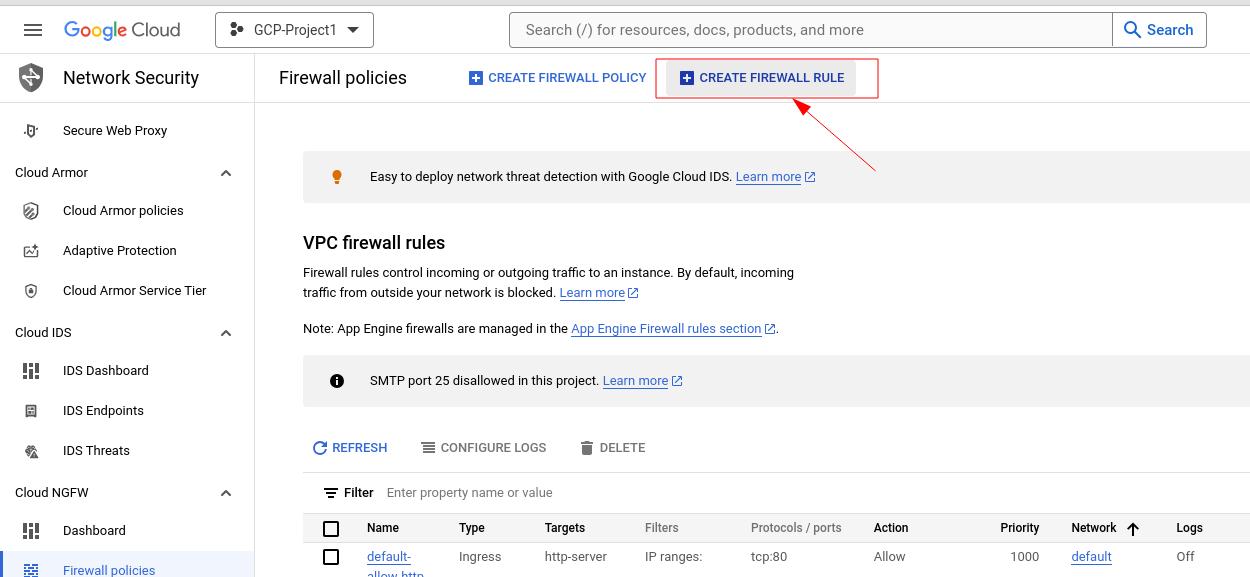
Install Webmin
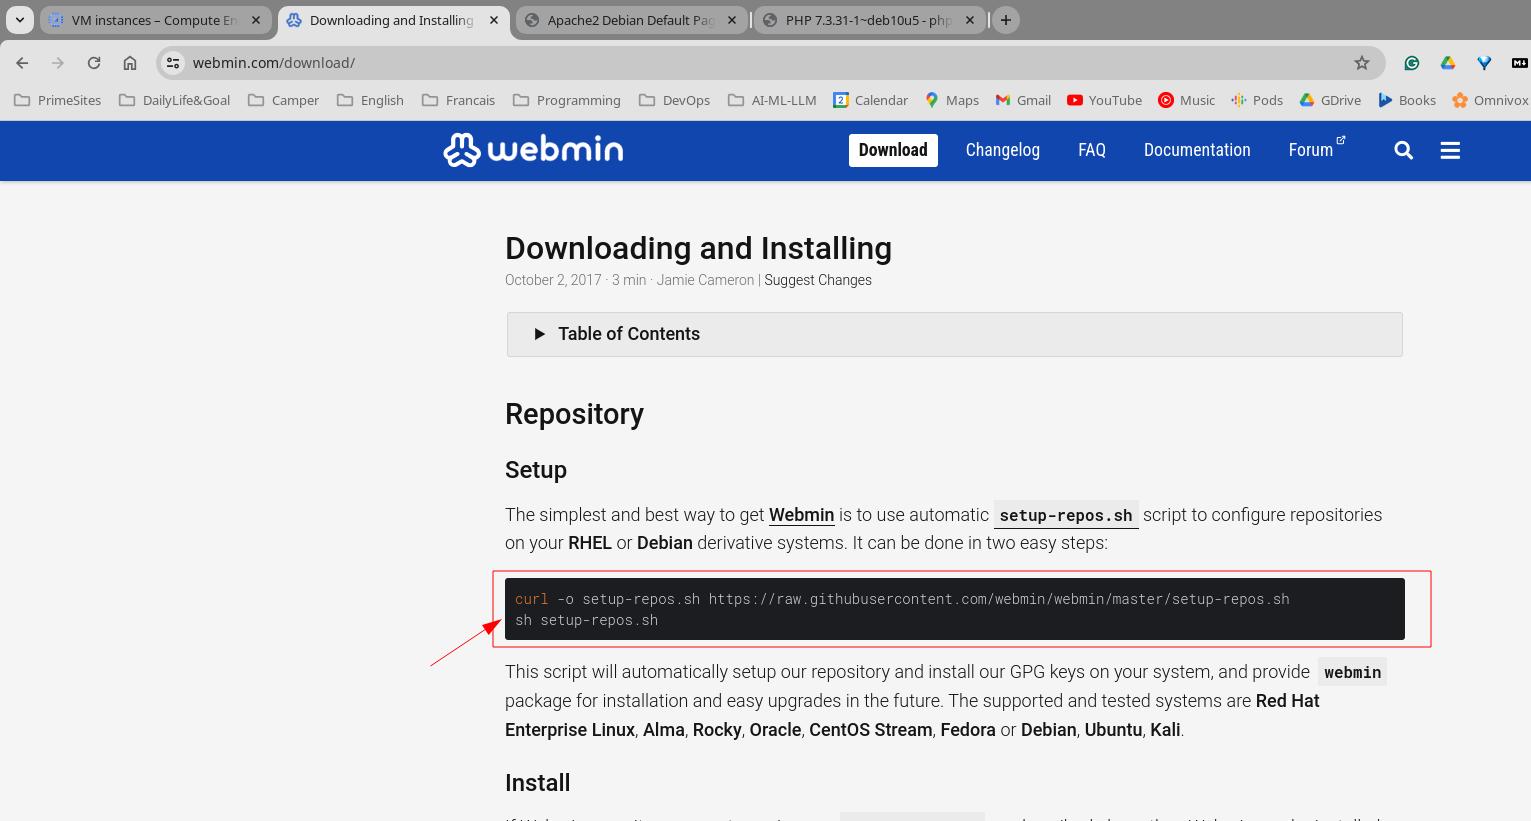
sudo curl -o setup-repos.sh https://raw.githubusercontent.com/webmin/webmin/master/setup-repos.sh

sudo sh setup-repos.sh
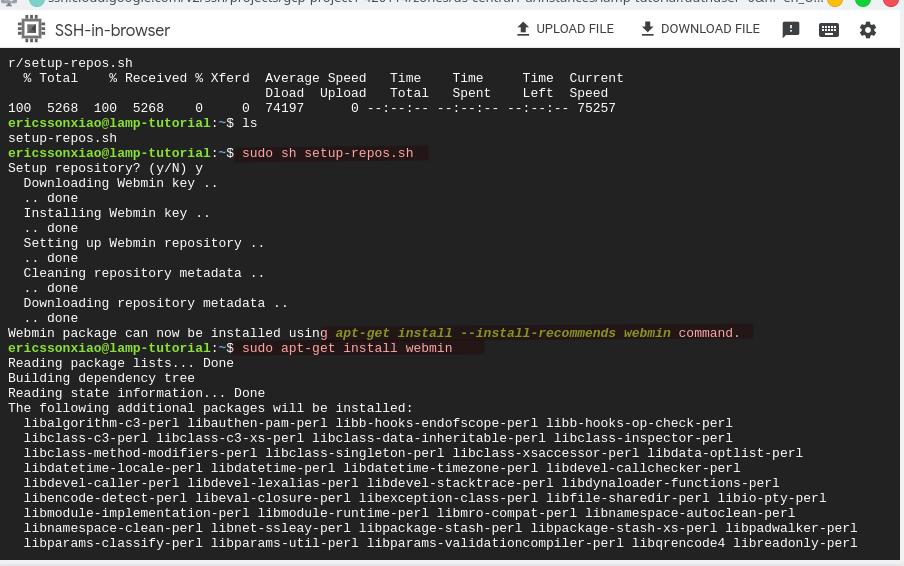
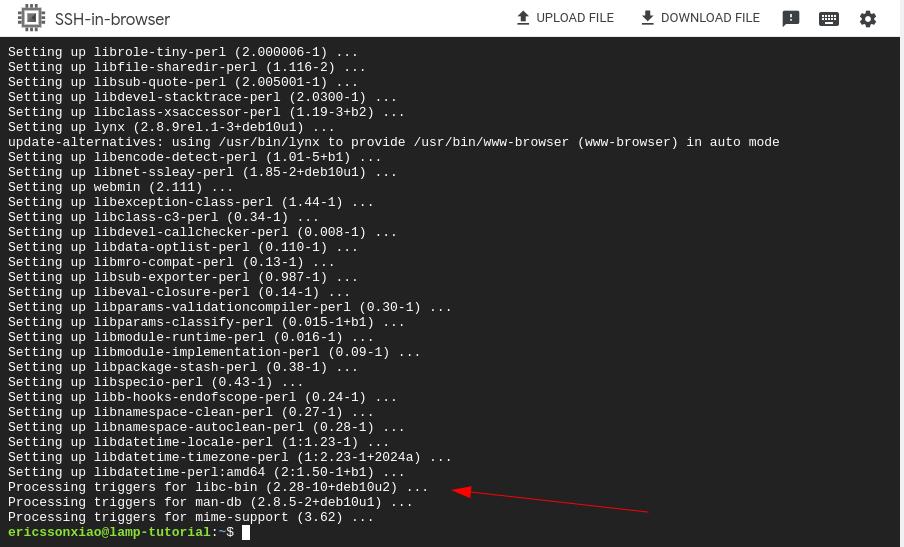
apt-get install webmin –install-recommends
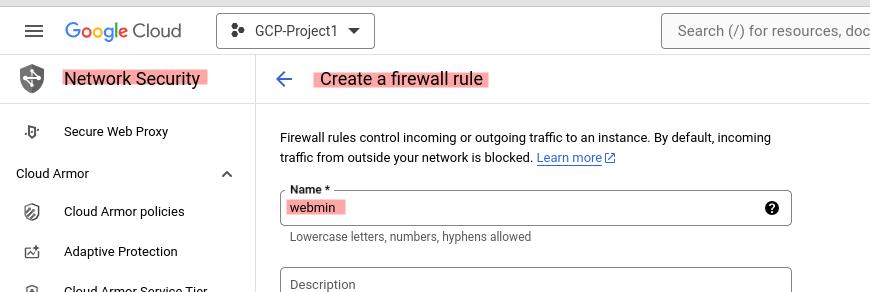
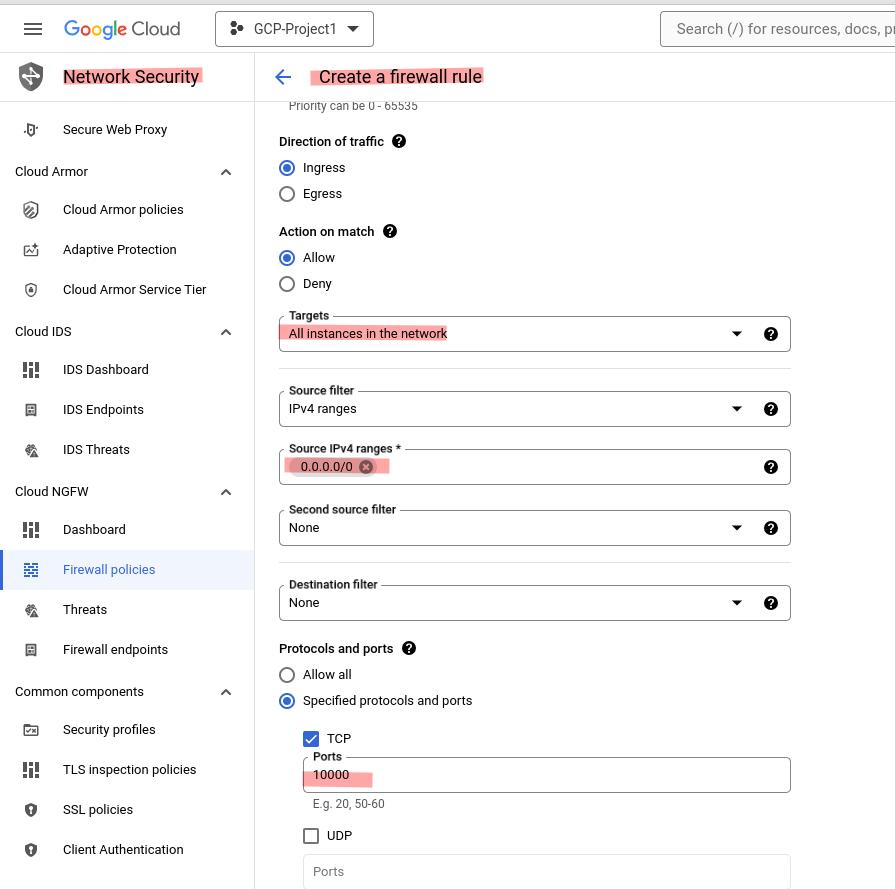
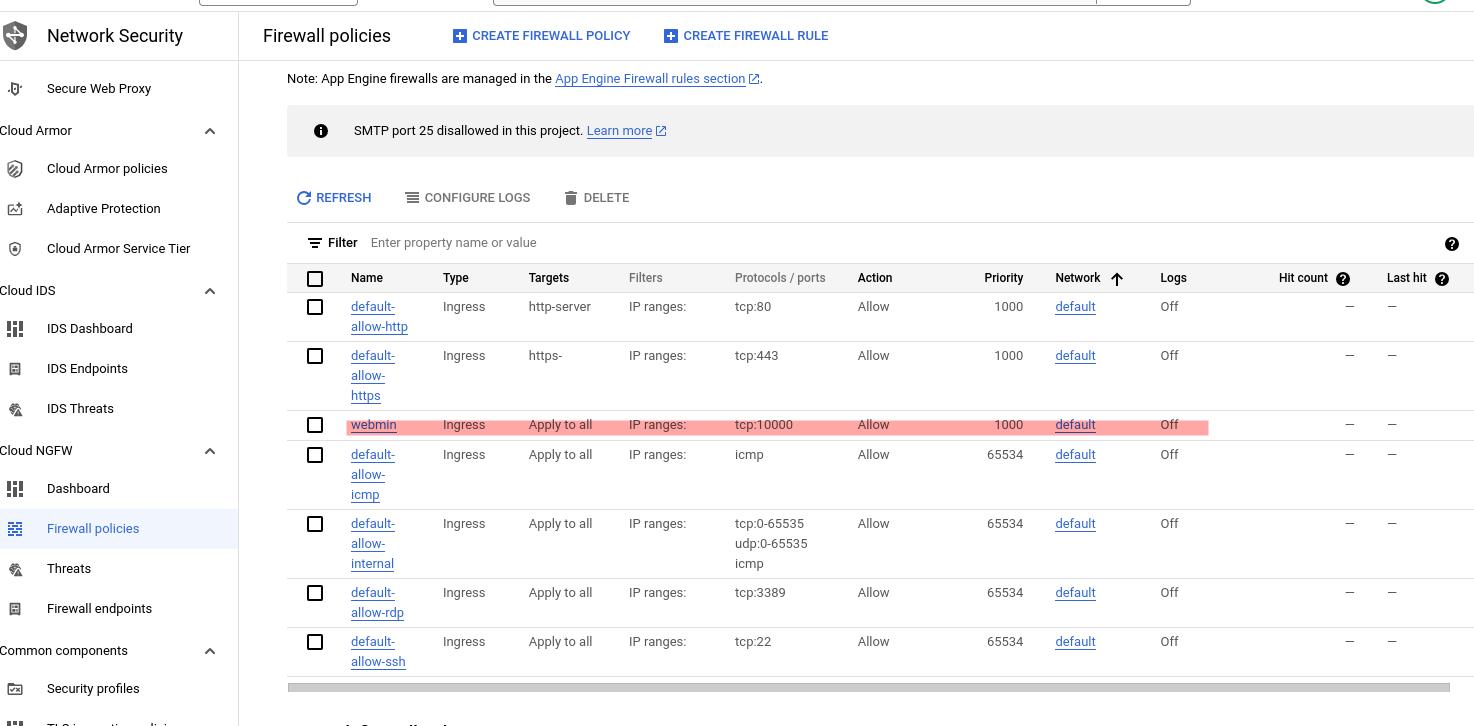
Then we should set up firewall rules, after that we need to open port for Webmin which is 10000

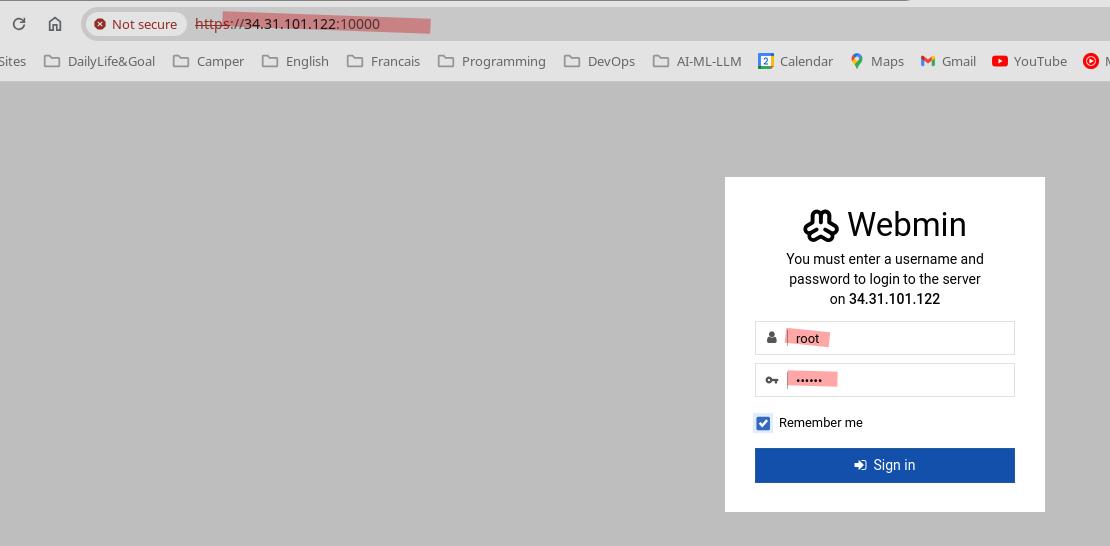
To test webmin
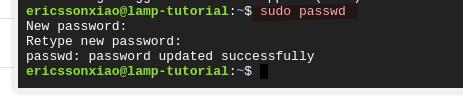
Make sure first to create the root password
In the VM at the terminal
$sudo passwd
Set the password
https://34.31.101.122:10000
login with root and the password