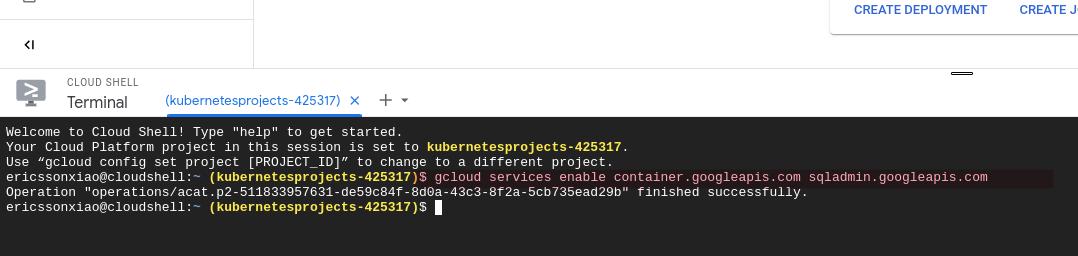
At first, activate Cloud Shell, then In Cloud Shell, enable the GKE and Cloud SQL Admin APIs:
gcloud services enable container.googleapis.com sqladmin.googleapis.com
Setting up your environment
- In Cloud Shell, set the default region for the Google Cloud CLI:
# region: Choose a region that's closest to you. For more information, see Regions and Zones.
export region=us-east1
# or
export region=us-west4
# you can choice one region and comment another one.

gcloud config set compute/region region

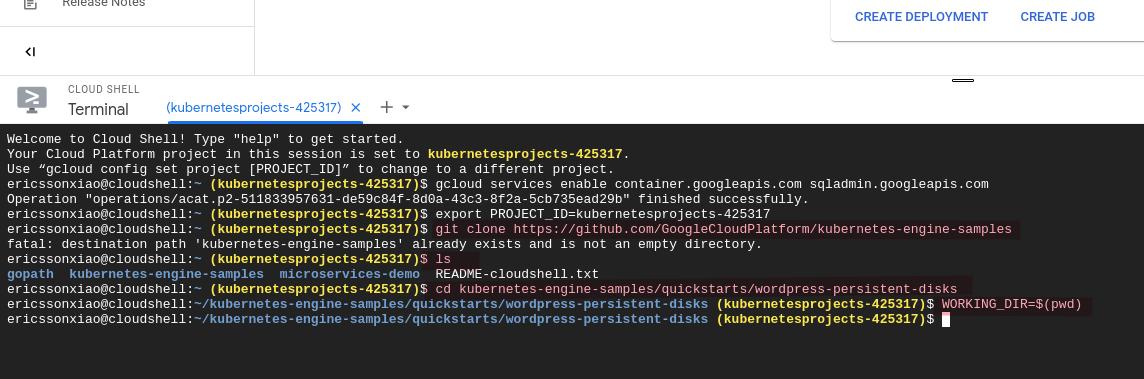
- Set the PROJECT_ID environment variable to your Google Cloud project ID (project-id).
export PROJECT_ID=kubernetesprojects-425317
- Download the app manifest files from the GitHub repository:
git clone https://github.com/GoogleCloudPlatform/kubernetes-engine-samples
- Change to the directory with the wordpress-persistent-disks file:
cd kubernetes-engine-samples/quickstarts/wordpress-persistent-disks
- Set the WORKING_DIR environment variable:
WORKING_DIR=$(pwd)
For this tutorial, you create Kubernetes objects using manifest files in YAML format.
Creating a GKE cluster
You create a GKE cluster to host your WordPress app container.
- In Cloud Shell, create an GKE cluster named persistent-disk-tutorial:
CLUSTER_NAME=persistent-disk-tutorial
gcloud container clusters create-auto $CLUSTER_NAME
- Once created, connect to your new cluster:
gcloud container clusters get-credentials $CLUSTER_NAME --region us-east1
Creating a PV and a PVC backed by Persistent Disk
Create a PVC as the storage required for WordPress. GKE has a default StorageClass resource installed that lets you dynamically provision PVs backed by Persistent Disk. You use the wordpress-volumeclaim.yaml file to create the PVCs required for the deployment.
This manifest file describes a PVC that requests 200 GB of storage. A StorageClass resource hasn’t been defined in the file, so this PVC uses the default StorageClass resource to provision a PV backed by Persistent Disk.
- In Cloud Shell, deploy the manifest file:
kubectl apply -f $WORKING_DIR/wordpress-volumeclaim.yaml
It can take up to ten seconds to provision the PV backed by Persistent Disk and to bind it to your PVC. You can check the status with the following command:
kubectl get persistentvolumeclaim
The output shows a PersistentVolumeClaim with a status of Pending, similar to the following:

This PersistentVolumeClaim remains in the Pending state until you use it later in this tutorial.
Creating a Cloud SQL for MySQL instance
- In Cloud Shell, create an instance named mysql-wordpress-instance:
INSTANCE_NAME=mysql-wordpress-instance
gcloud sql instances create $INSTANCE_NAME

- Add the instance connection name as an environment variable:
export INSTANCE_CONNECTION_NAME=$(gcloud sql instances describe $INSTANCE_NAME --format='value(connectionName)')
- Create a database for WordPress to store its data:
gcloud sql databases create wordpress --instance $INSTANCE_NAME

- Create a database user called wordpress and a password for WordPress to authenticate to the instance:
CLOUD_SQL_PASSWORD=$(openssl rand -base64 18)

gcloud sql users create wordpress --host=% --instance $INSTANCE_NAME --password $CLOUD_SQL_PASSWORD

If you close your Cloud Shell session, you lose the password. Make a note of the password because you need it later in the tutorial.
You have completed setting up the database for your new WordPress blog.
Deploying WordPress
Before you can deploy WordPress, you must create a service account. You create a Kubernetes secret to hold the service account credentials and another secret to hold the database credentials.
Configure a service account and create secrets
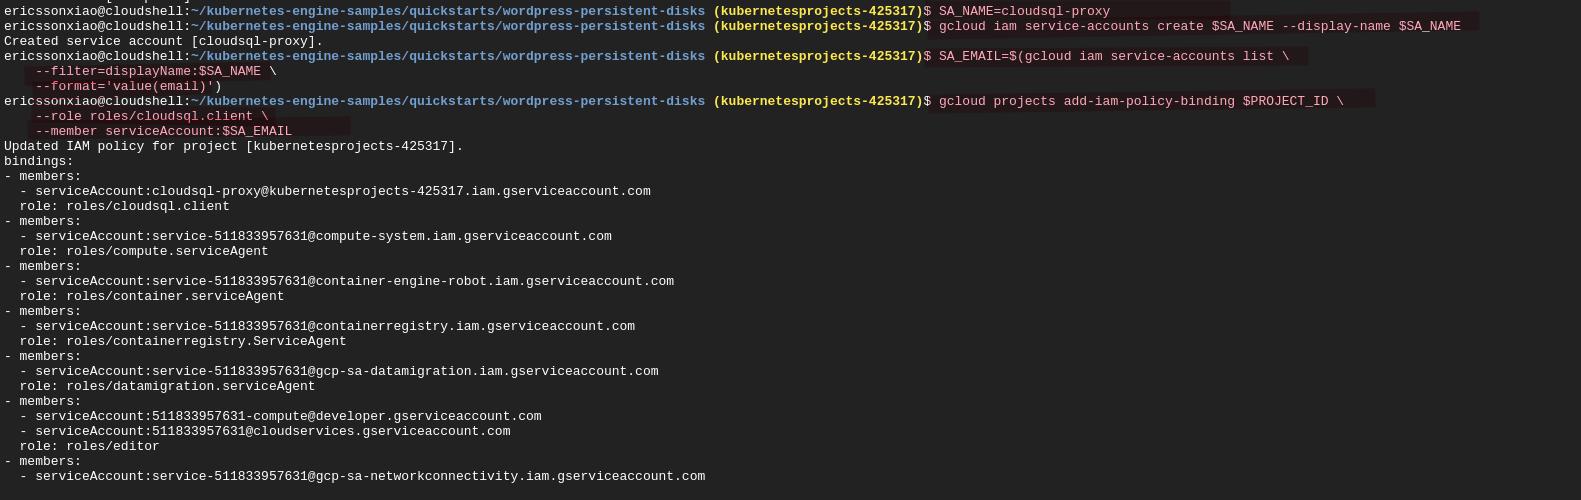
- To let your WordPress app access the MySQL instance through a Cloud SQL proxy, create a service account:
SA_NAME=cloudsql-proxy
gcloud iam service-accounts create $SA_NAME --display-name $SA_NAME
- Add the service account email address as an environment variable:
SA_EMAIL=$(gcloud iam service-accounts list \
--filter=displayName:$SA_NAME \
--format='value(email)')
- Add the cloudsql.client role to your service account:
gcloud projects add-iam-policy-binding $PROJECT_ID \
--role roles/cloudsql.client \
--member serviceAccount:$SA_EMAIL
- Create a key for the service account:
gcloud iam service-accounts keys create $WORKING_DIR/key.json --iam-account $SA_EMAIL

This command downloads a copy of the key.json file.
- Create a Kubernetes secret for the MySQL credentials:
kubectl create secret generic cloudsql-db-credentials \
--from-literal username=wordpress \
--from-literal password=$CLOUD_SQL_PASSWORD
- Create a Kubernetes secret for the service account credentials:
kubectl create secret generic cloudsql-instance-credentials \
--from-file $WORKING_DIR/key.json

Deploy WordPress
The next step is to deploy your WordPress container in the GKE cluster.
The wordpress_cloudsql.yaml manifest file describes a Deployment that creates a single Pod running a container with a WordPress instance. This container reads the WORDPRESS_DB_PASSWORD environment variable that contains the cloudsql-db-credentials secret you created.
This manifest file also configures the WordPress container to communicate with MySQL through the Cloud SQL proxy running in the sidecar container. The host address value is set on the WORDPRESS_DB_HOST environment variable.
- Prepare the file by replacing the INSTANCE_CONNECTION_NAME environment variable:
cat $WORKING_DIR/wordpress_cloudsql.yaml.template | envsubst > $WORKING_DIR/wordpress_cloudsql.yaml
- Deploy the wordpress_cloudsql.yaml manifest file:
kubectl create -f $WORKING_DIR/wordpress_cloudsql.yaml
It takes a few minutes to deploy this manifest file while a Persistent Disk is attached to the compute node.
- Watch the deployment to see the status change to running:
kubectl get pod -l app=wordpress --watch
When the output shows a status of Running, you can move on to the next step.


Expose the WordPress service
In the previous step, you deployed a WordPress container, but it’s currently not accessible from outside your cluster because it doesn’t have an external IP address. You can expose your WordPress app to traffic from the internet by creating and configuring a Kubernetes Service with an attached external load balancer. To learn more about exposing apps using Services in GKE, see the how-to guide.
- Create a Service of type:LoadBalancer:
kubectl create -f $WORKING_DIR/wordpress-service.yaml
It takes a few minutes to create a load balancer.
- Watch the deployment and wait for the service to have an external IP address assigned:
kubectl get svc -l app=wordpress --watch
- When the output shows an external IP address, you can proceed to the next step. Note that your external IP is different from the following example.

Make a note of the EXTERNAL_IP address field to use later.
Setting up your WordPress blog
In this section, you set up your WordPress blog.
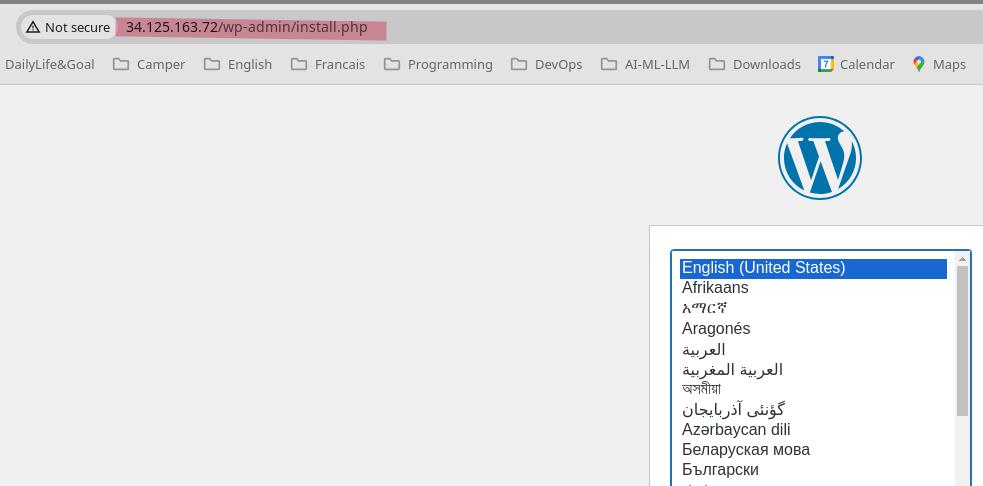
- In your browser, go to the following URL, replacing external-ip-address with the EXTERNAL_IP address of the service that exposes your WordPress instance: http://external-ip-address
-
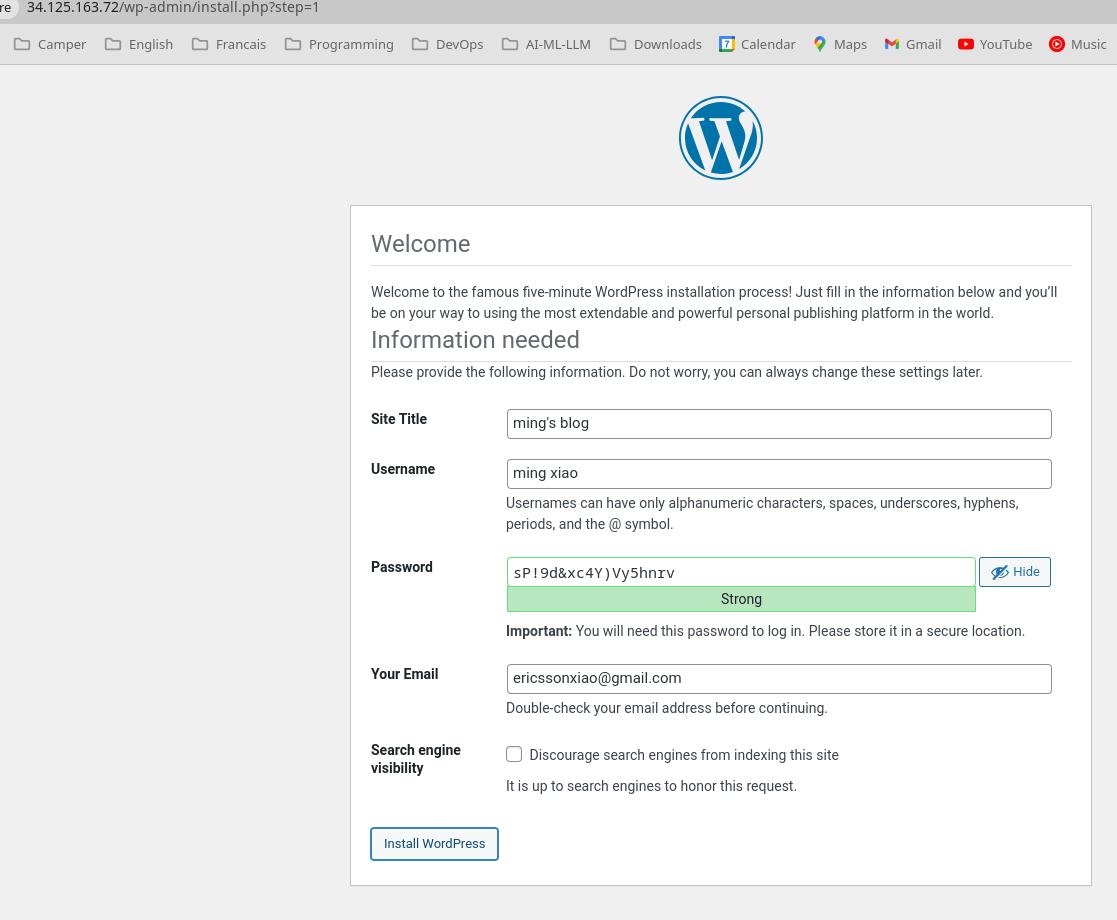
On the WordPress installation page, select a language, and then click Continue.
-
Complete the Information needed page, and then click Install WordPress.
-
Click Log In.
-
Enter the username and password that you previously created.
-
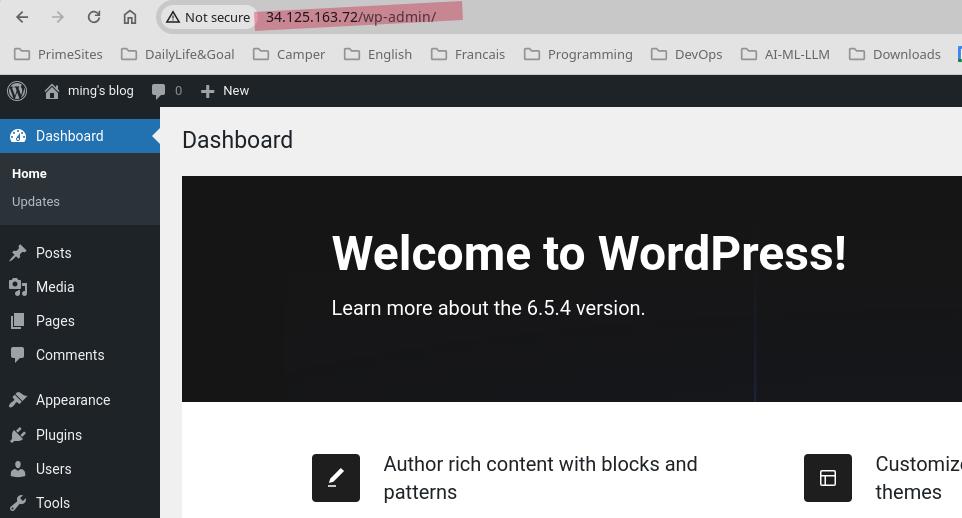
You now have a blog site. To visit your blog, in your browser, go to the following URL: http://external-ip-address
Clean up
To avoid incurring charges to your Google Cloud account for the resources used in this tutorial, either delete the project that contains the resources, or keep the project and delete the individual resources.
Delete the project
In the Google Cloud console, go to the Manage resources page.
Go to Manage resources
In the project list, select the project that you want to delete, and then click Delete.
In the dialog, type the project ID, and then click Shut down to delete the project.
Delete the individual resources
If you used an existing project and you don’t want to delete it, delete the individual resources.
- Delete the service:
kubectl delete service wordpress
Wait for the load balancer provisioned for the wordpress Service to be deleted. The load balancer is deleted asynchronously in the background.
Watch the deletion process:
watch gcloud compute forwarding-rules list
The load balancer is deleted when you see the following output:
Listed 0 items.
- Delete the Deployment:
kubectl delete deployment wordpress
- Delete the PVC for WordPress:
kubectl delete pvc wordpress-volumeclaim
This command also automatically deletes the PV and Persistent Disk.
- Delete the GKE cluster:
gcloud container clusters delete $CLUSTER_NAME
- Delete the Cloud SQL instance:
gcloud sql instances delete $INSTANCE_NAME
- Remove the role from the service account:
gcloud projects remove-iam-policy-binding $PROJECT_ID \
--role roles/cloudsql.client \
--member serviceAccount:$SA_EMAIL
- Delete the service account:
gcloud iam service-accounts delete $SA_EMAIL